Creating and Using Endpoints
In EchoDash, endpoints are the entry points for receiving webhooks and event data from your applications and external services. Each endpoint provides a unique URL that you can use to send data to EchoDash.
Creating a New Endpoint
To create a new endpoint in EchoDash:
- Log in to your EchoDash account
- Navigate to the Sources panel in the sidebar
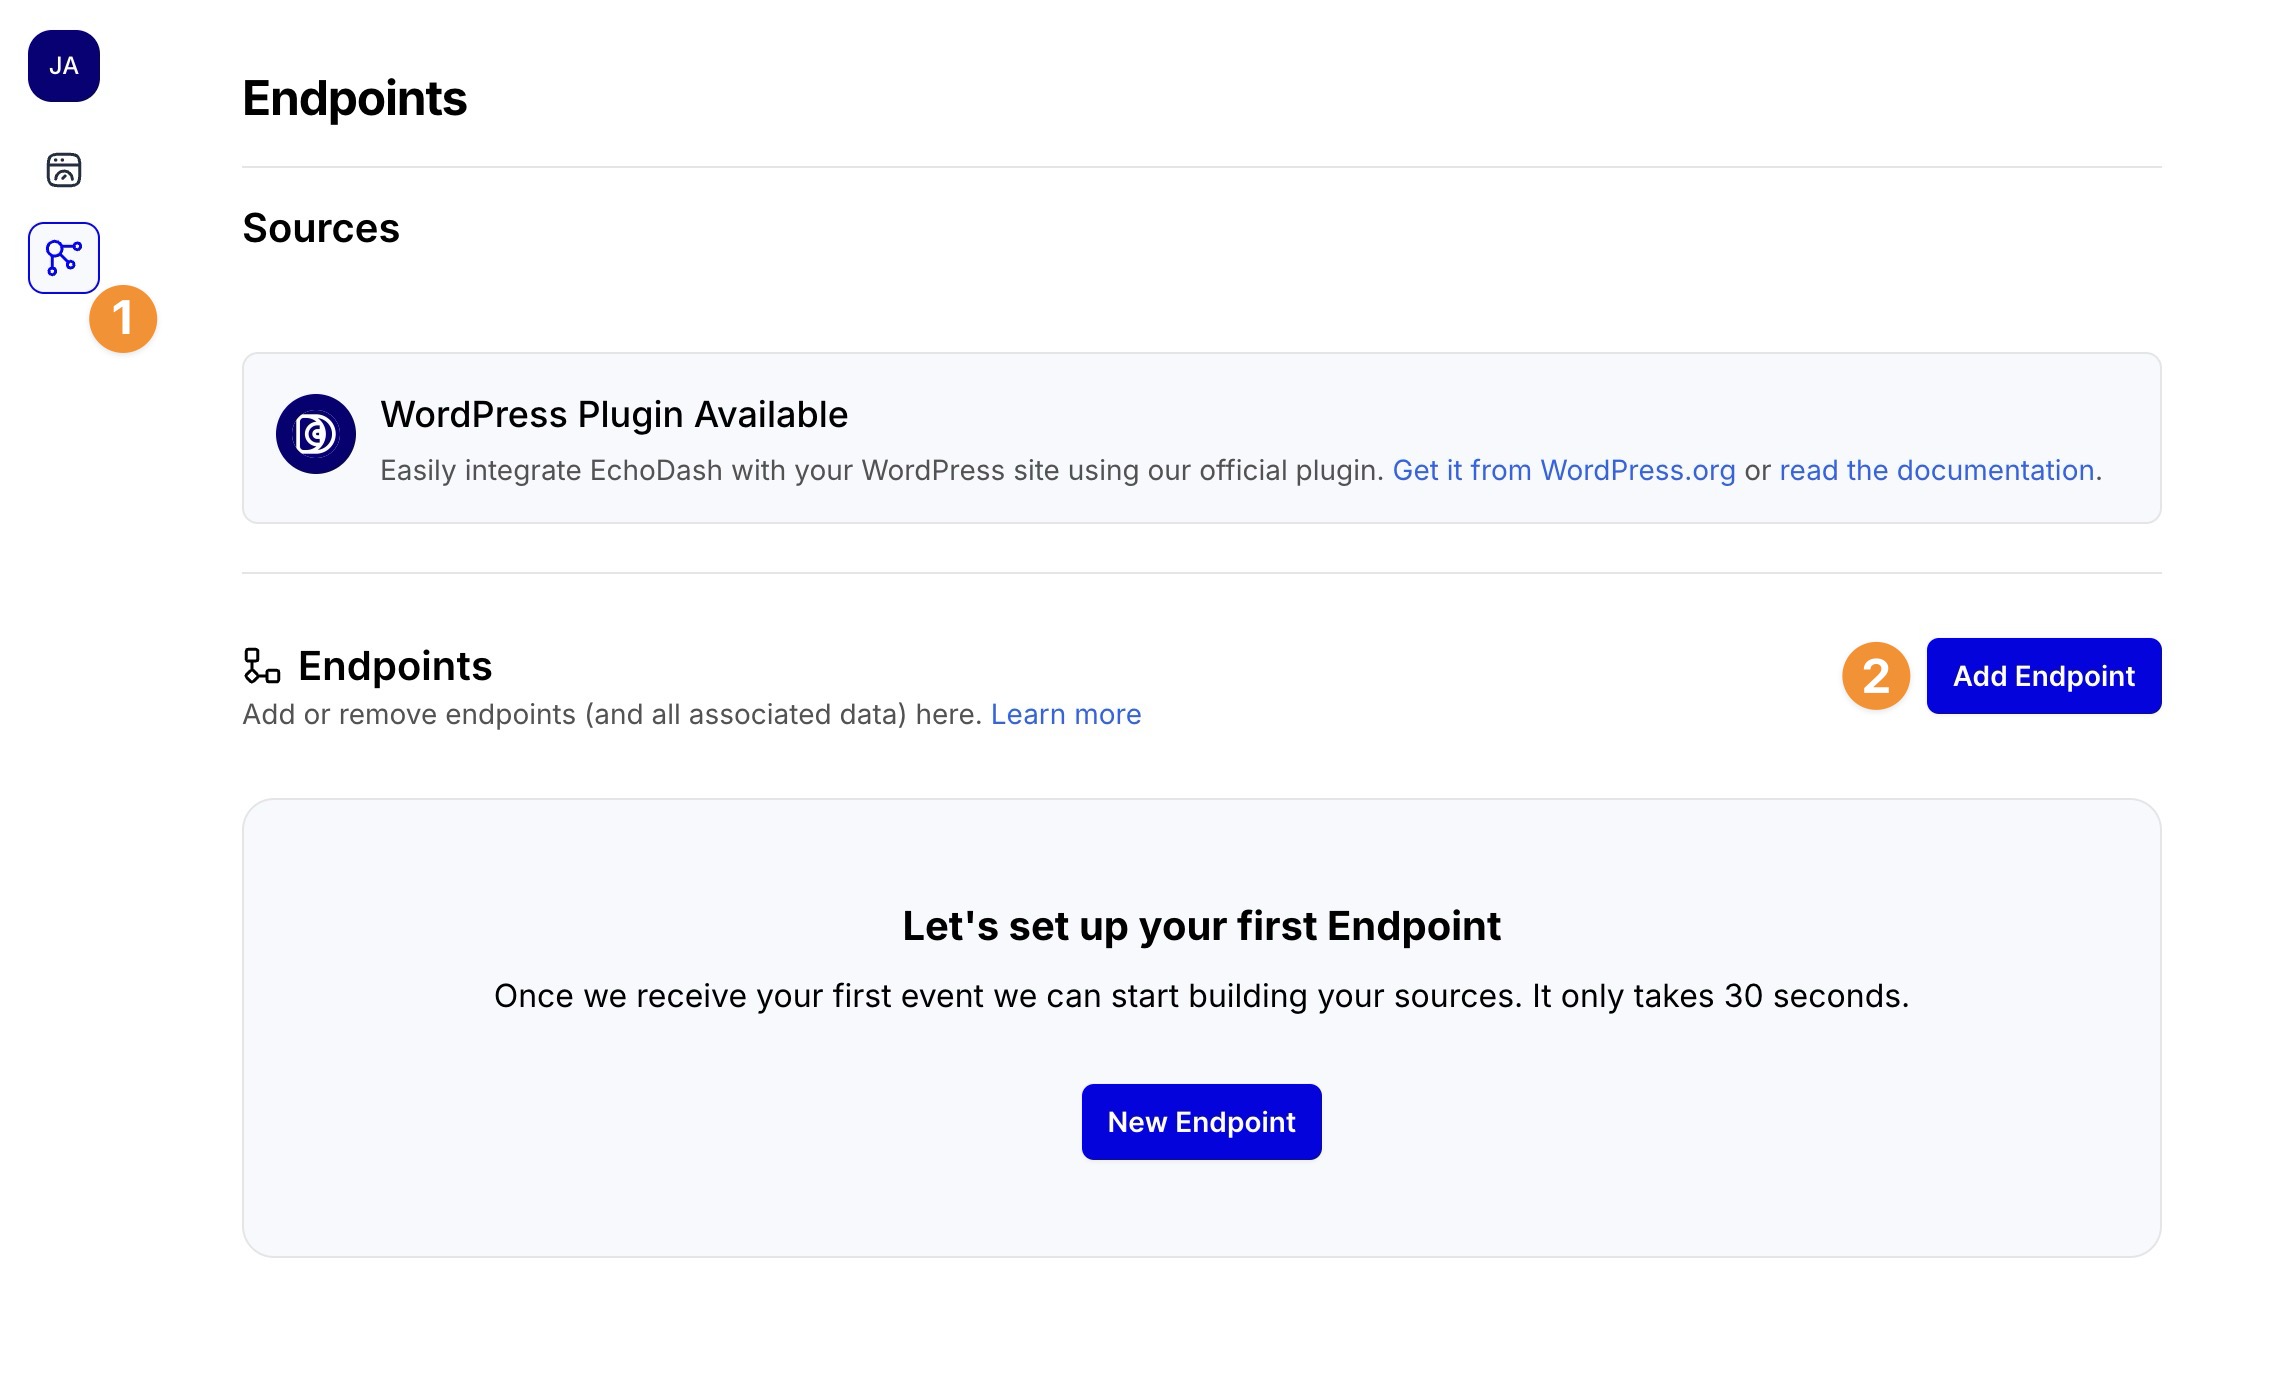
- Click on Add Endpoint button
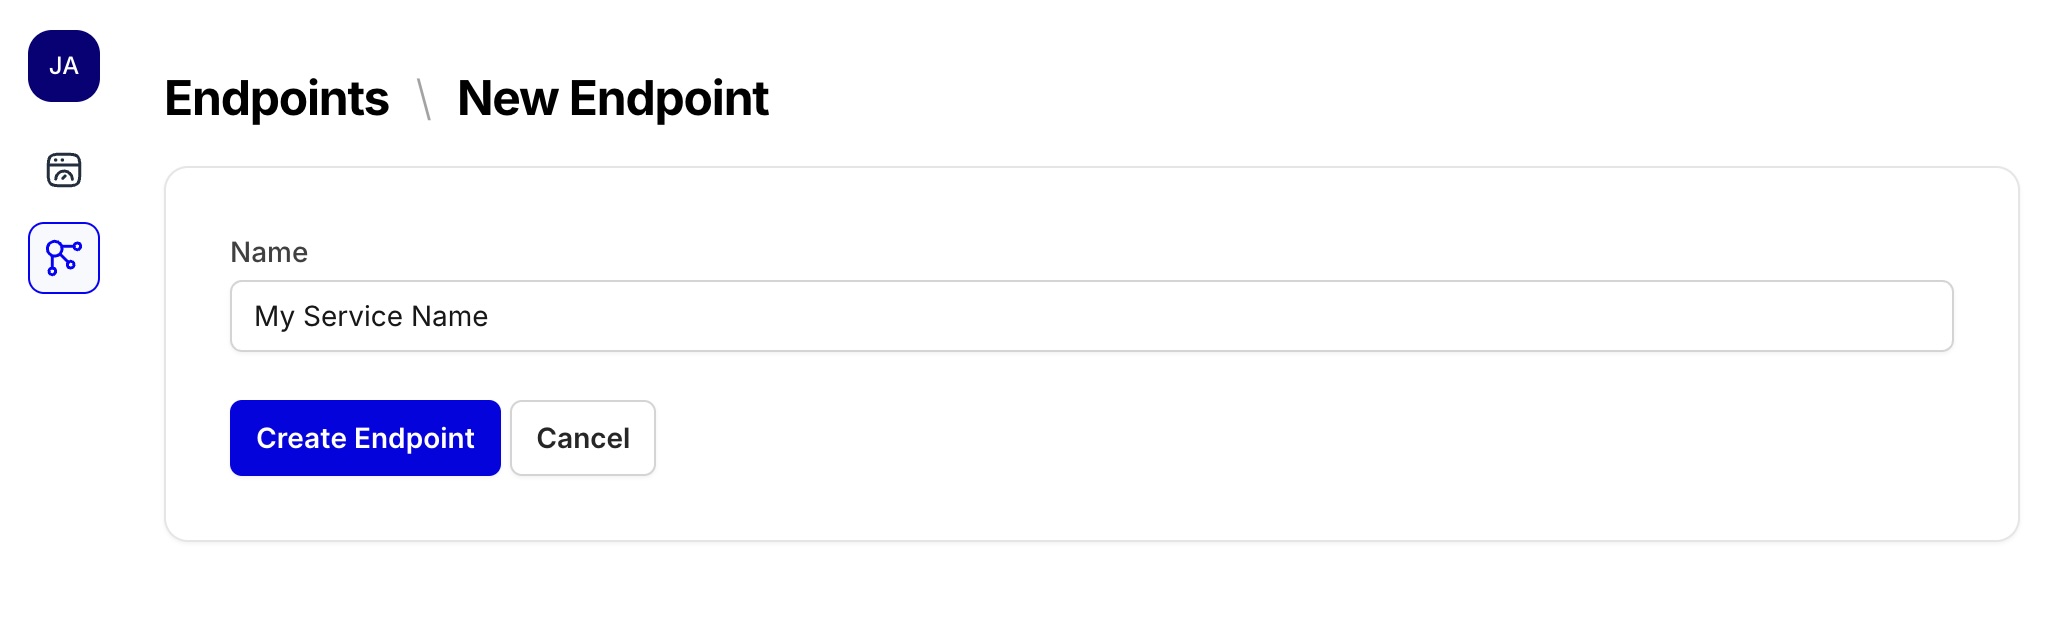
- Enter a descriptive name for your endpoint (e.g., "Production API", "Stripe Webhooks", "WordPress Site")
- Click Create Endpoint
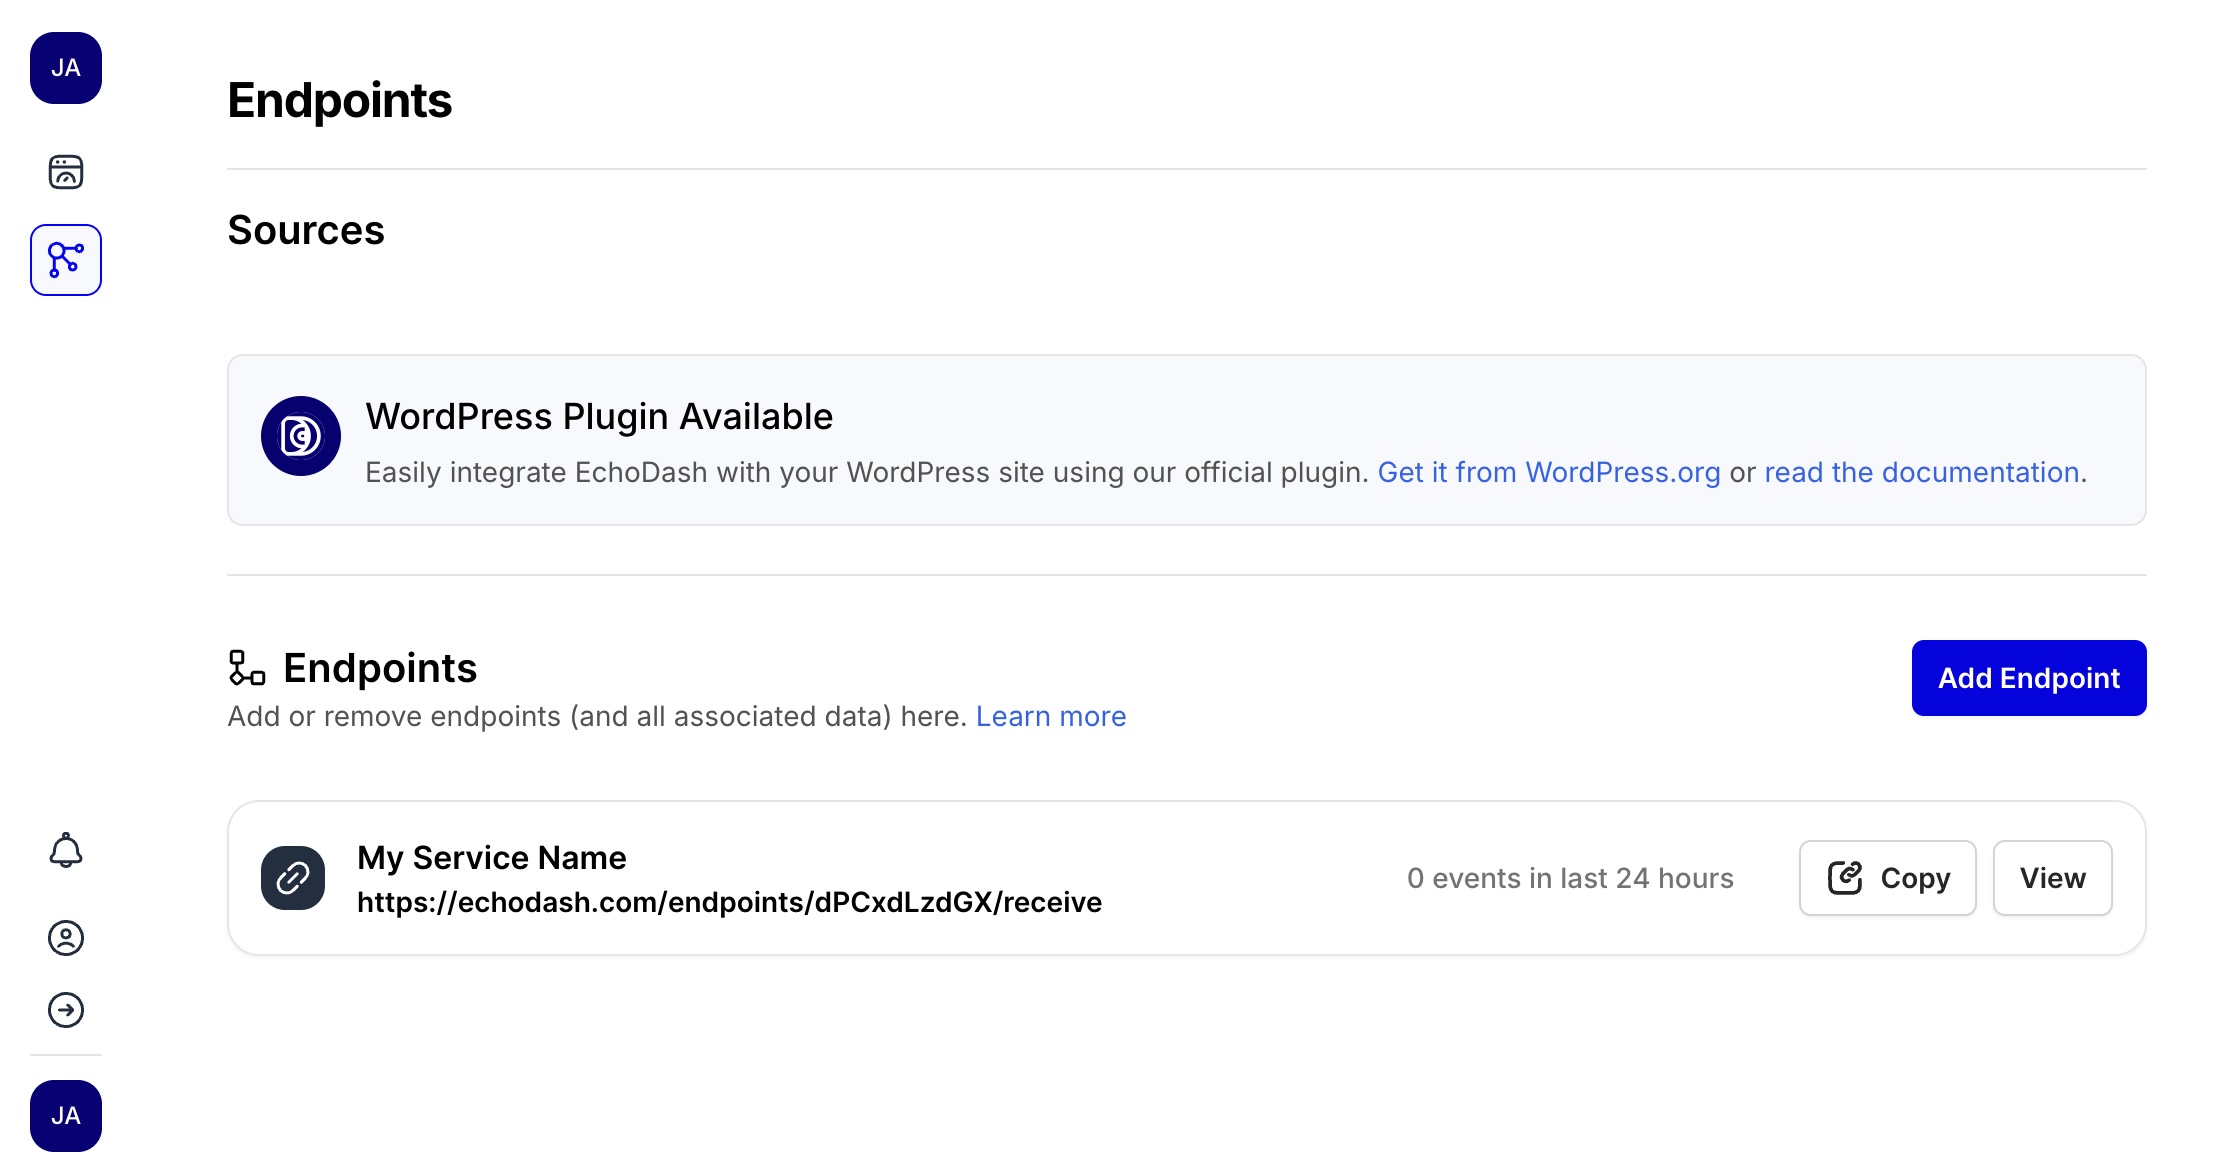
Once created, you'll be taken to the endpoint details page where you can see your unique webhook URL. You can view your endpoints from the Sources panel.
Endpoint URL Structure
Each endpoint has a unique URL in this format:
https://echodash.com/endpoints/YOUR_ENDPOINT_SLUG/receive
Where YOUR_ENDPOINT_SLUG is a unique identifier for your endpoint. This URL is what you'll configure in your applications or services to send webhook data to EchoDash.
Sending Data to Your Endpoint
With your endpoint created, you can now configure your applications or services to send webhook data to it. EchoDash accepts any JSON or form-encoded data via POST requests.
EchoDash will automatically analyze your payload and extract the most relevant information to display in your event feed.
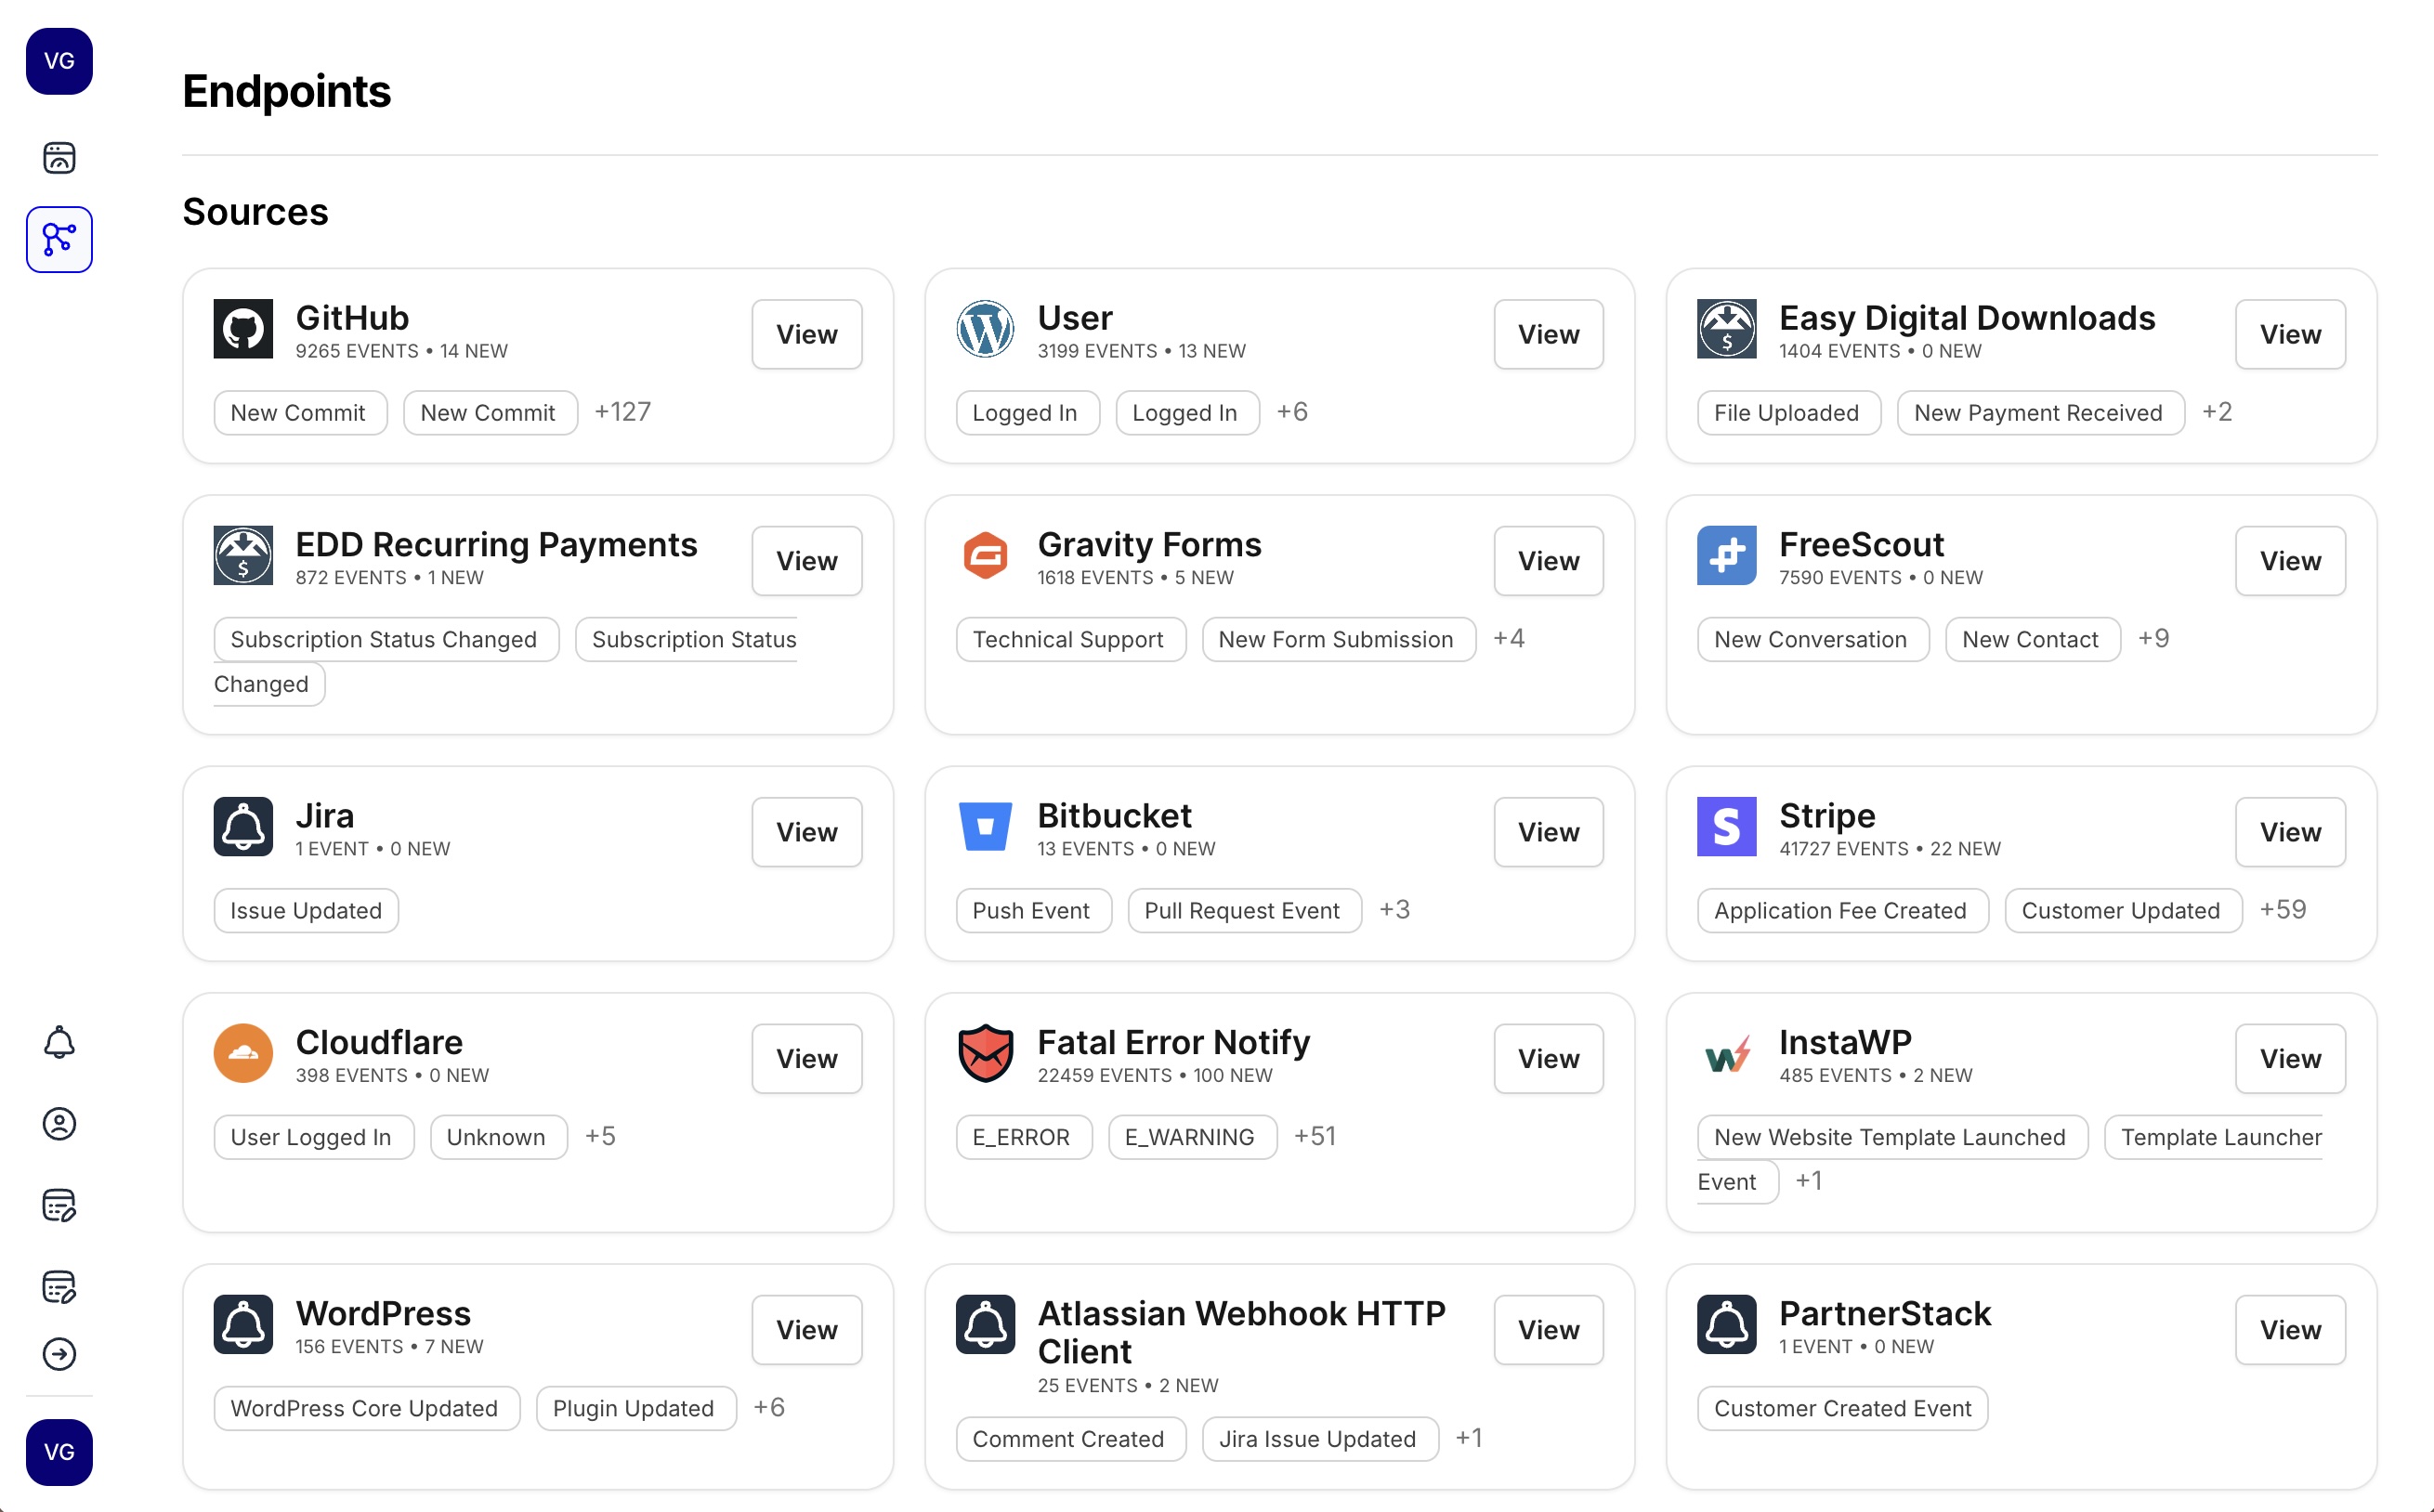
Data sent to your endpoints will be categorized into Sources, and can be viewed in the Sources panel.
Testing Your Endpoint
You can test your endpoint by:
- Configuring your application to send a webhook to your endpoint and wait for one to come in
- Or, for testing purposes, sending a sample webhook using curl, Postman, or any API tool
- Checking the Events feed in EchoDash to see the received data
- Viewing the event details to ensure data is being extracted correctly
Managing Endpoints
Viewing Endpoint Details
To view details for an existing endpoint:
- Navigate to the Sources panel
- Click on the endpoint name in the list
This will show you:
- The endpoint's unique URL
- Recent events received by this endpoint
- Creation date and other metadata
Renaming an Endpoint
To rename an endpoint:
- Navigate to the endpoint details page
- Click on the Edit button
- Enter a new name
- Click Update Endpoint
Deleting an Endpoint
To delete an endpoint:
- Navigate to the endpoint details page
- Click on the Edit button
- Click on the Delete button
- Confirm the deletion
Note: Deleting an endpoint cannot be undone. Any applications or services sending webhooks to this endpoint will receive a 410 Gone status code after deletion. All events received by this endpoint will be permanently deleted.
Next Steps
Now that you've created an endpoint, you can:
- Set up browser notifications to get alerted when new events are received
- Configure email digests to receive summaries of your webhook events